
Anyway, I thought I would share the mini-demo on my blog. It's a demo I did at our first Scrap-a-Palooza that I kicked up a bit.
I had mentioned a few posts back about how much I love to make my own embellishments for my pages. Well... this demo is all about taking basic shapes to create easy, yet super cute embellishments.
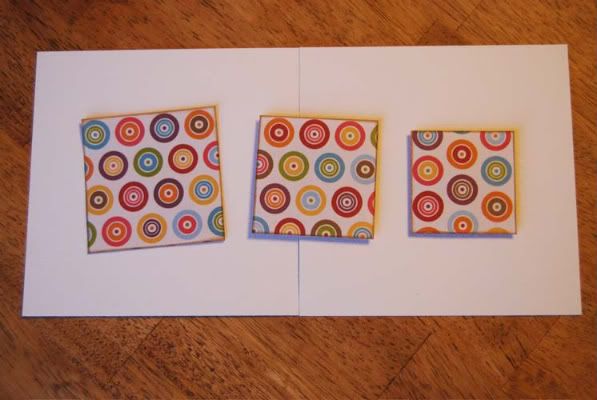
1. The first thing you'll need is three shapes of the same patterned paper in three different sizes. I'm using a 2", 1 3/4", and 1 1/2" squares. I would recommend inking the edges of these pieces. You'll definitely want each edge to be defined because it's really going to help enhance the dimension when it's all put together.
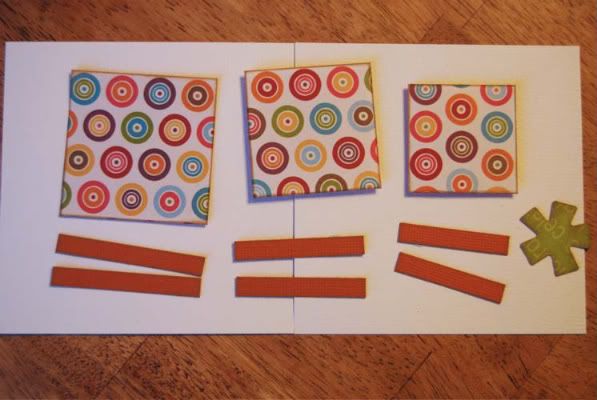
2. Since I'm making a birthday present with these squares I've also got six strips of a coordinating cardstock to act as the ribbon around the present and a flower punched out of patterned paper for the bow.
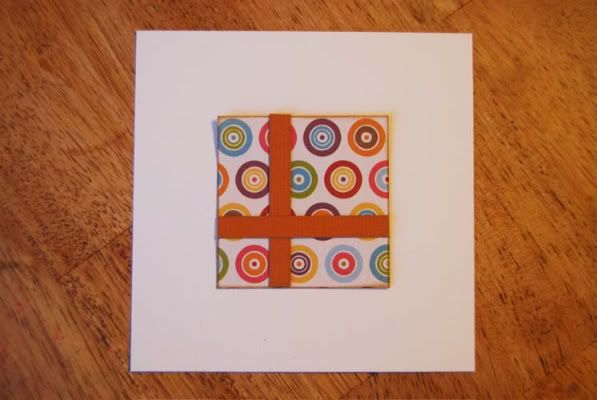
3. The largest square will be the bottom piece. The cardstock strips are on each layer so they need to be added to each square before the next is on top of it.
4. The medium square is added on top of the large one with foam adhesive. Then the strips will line up with the strips on the largest square on the bottom.
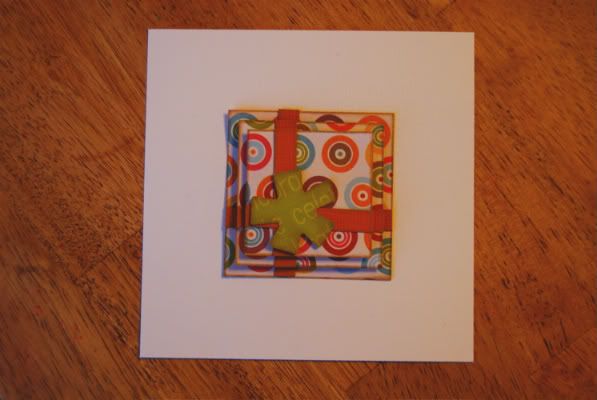
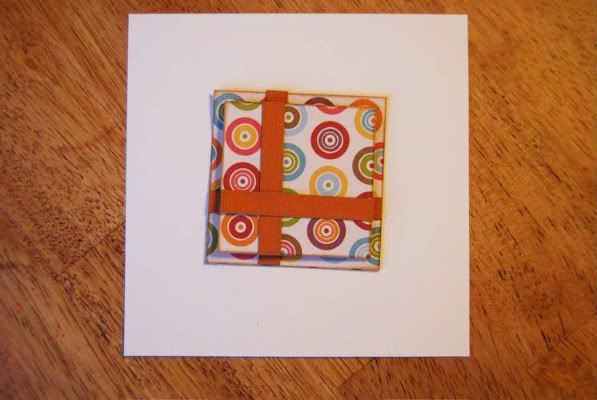
5. The small square is added on top of the medium one with foam adhesive and then the strips are added so that they line up with the strips on the other two squares. The last thing to add is the bow.

6. You can also add some fun little extras to give it a finishing touch. I added a jewel and Stickles to the center of the bow/flower.
Here are a few other things I made using the same concept of layering simple shapes.
• Rectangle present

This time I made the present with rectangles. On this one I added craft wire that I had rolled into swirls behind the bow. You'll see in this post how much I love using craft wire. It's so easy to work with and can be used for so many different things.
• A birthday cake
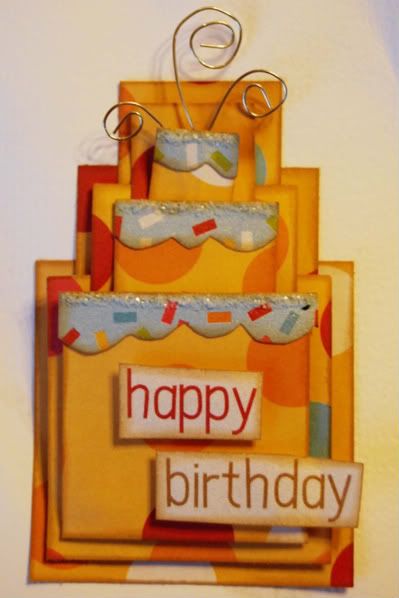
I used three different sets of squares, one set for each tier. I also added a scalloped edge and Rock Candy Stickles for the icing and then topped it off with craft wire curls coming off the top.
• Pumpkins
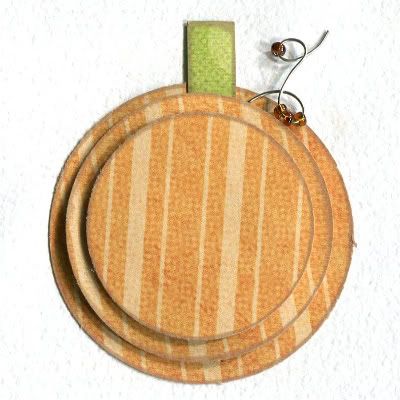
I used three different sized circles to create this pumpkin and added a little green stem and craft wire in a loop on the top.
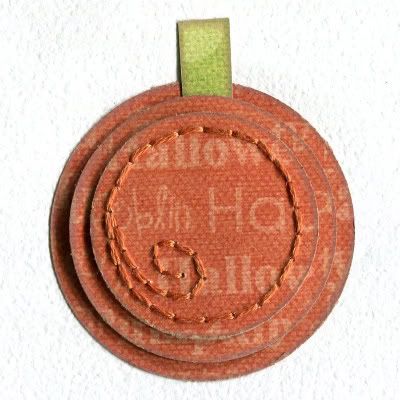
Here's another one that I added stitching to the center.
• Flowers
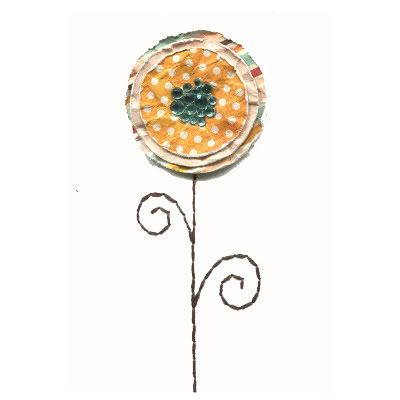
I wrinkled three circles, layered them, and then added a cluster of jewels to the center. I also added a hand stitched stem.
• Tree
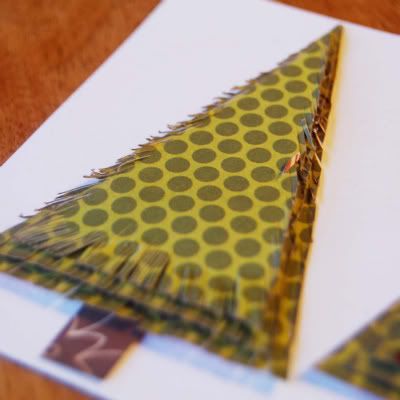
Before layering the three triangles, I shredded the edges of each one.
• Christmas tree
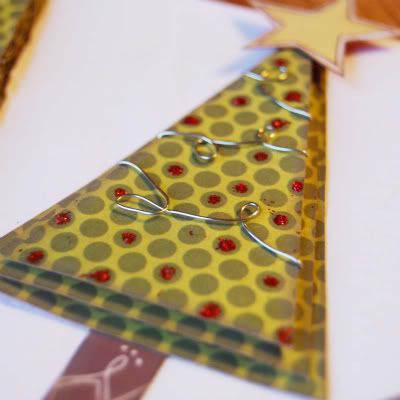
On the top layer, I added craft wire twisted into loop and Stickles.
• Fun, tilted tree
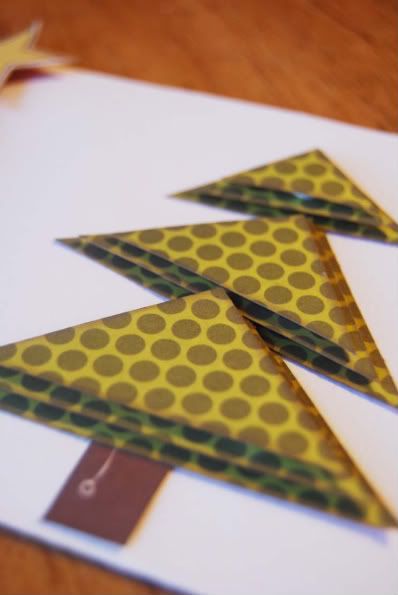
This one is similar to the layered birthday cake. I used three different sets of triangles and tilted each set.
So there you have it, several super easy embellishments using basic shapes. :)
14 comments:
Incredible! Thanks for sharing these tips
Super cute and great ideas!
awesome demo's. I can't wait to try them. I'm really enjoying your blog. You've really kicked it up. I am currently using one of your sketches to create 4 layouts. I have one layout left to go and then I'll send you the link. They are looking awesome. Awesome sketches. Love you guys. Shari
Shari, I can't wait to see them! :)
Hello, I found you by way of the Two Peas in a Bucket message boards! These are so cute, thank you for sharing them, I am definitely ordering some of your sketch books :)
What an amazing concept! I hope you share more of your mini-demo ideas here. We promise not to come alive through the computer and attack! ;)
Cute ideas. Your tips help me step up my embellishments a notch or two. I can use some of things in my stash that are outdated but I can't seem to make myself get rid of them. I told my niece about your blog and she used your layout ideas to do a layout last Friday at a crop. I'm glad your here to help me step up my scrapbooking.
What is it about pumpkins that is so appealing? All of the ideas are great, and give me lots more ways to use those stickles. Your site is my favorite!
Awesome. It's amazing what you can do with patterned paper and some stickles. Thanks for the inspiration!
What great ideas! Thanks for sharing!!!
Thank you so much for sharing this. Those homemade embellies are awesome. I sooo love the trees!!
Hello Allison,
Thanks for sharing these cool tips. I love the gift box ideas. Might have to do that on my duaghters page. I always love xmas trees of all kind the more different the better. Hoping to order a sketch book from you next week.Everyone here is feeling much better thank you.
I am so thankful you posted these tips! I have a Silhouette and have a plethora of die shapes to cut but always feel so lost on how to use them or dress them up. Thanks to you I now have tons of ideas!! Thank you so much, Allison.
It is amazing how you can take something so simple as different sized shapes and make some really cool embellishments. I agree with Jen. You should share some more of your demos. I can't wait until my next trip to Springfield and I can check out your store.
Post a Comment